Flower Pressing Tips - Forget-Me-Nots
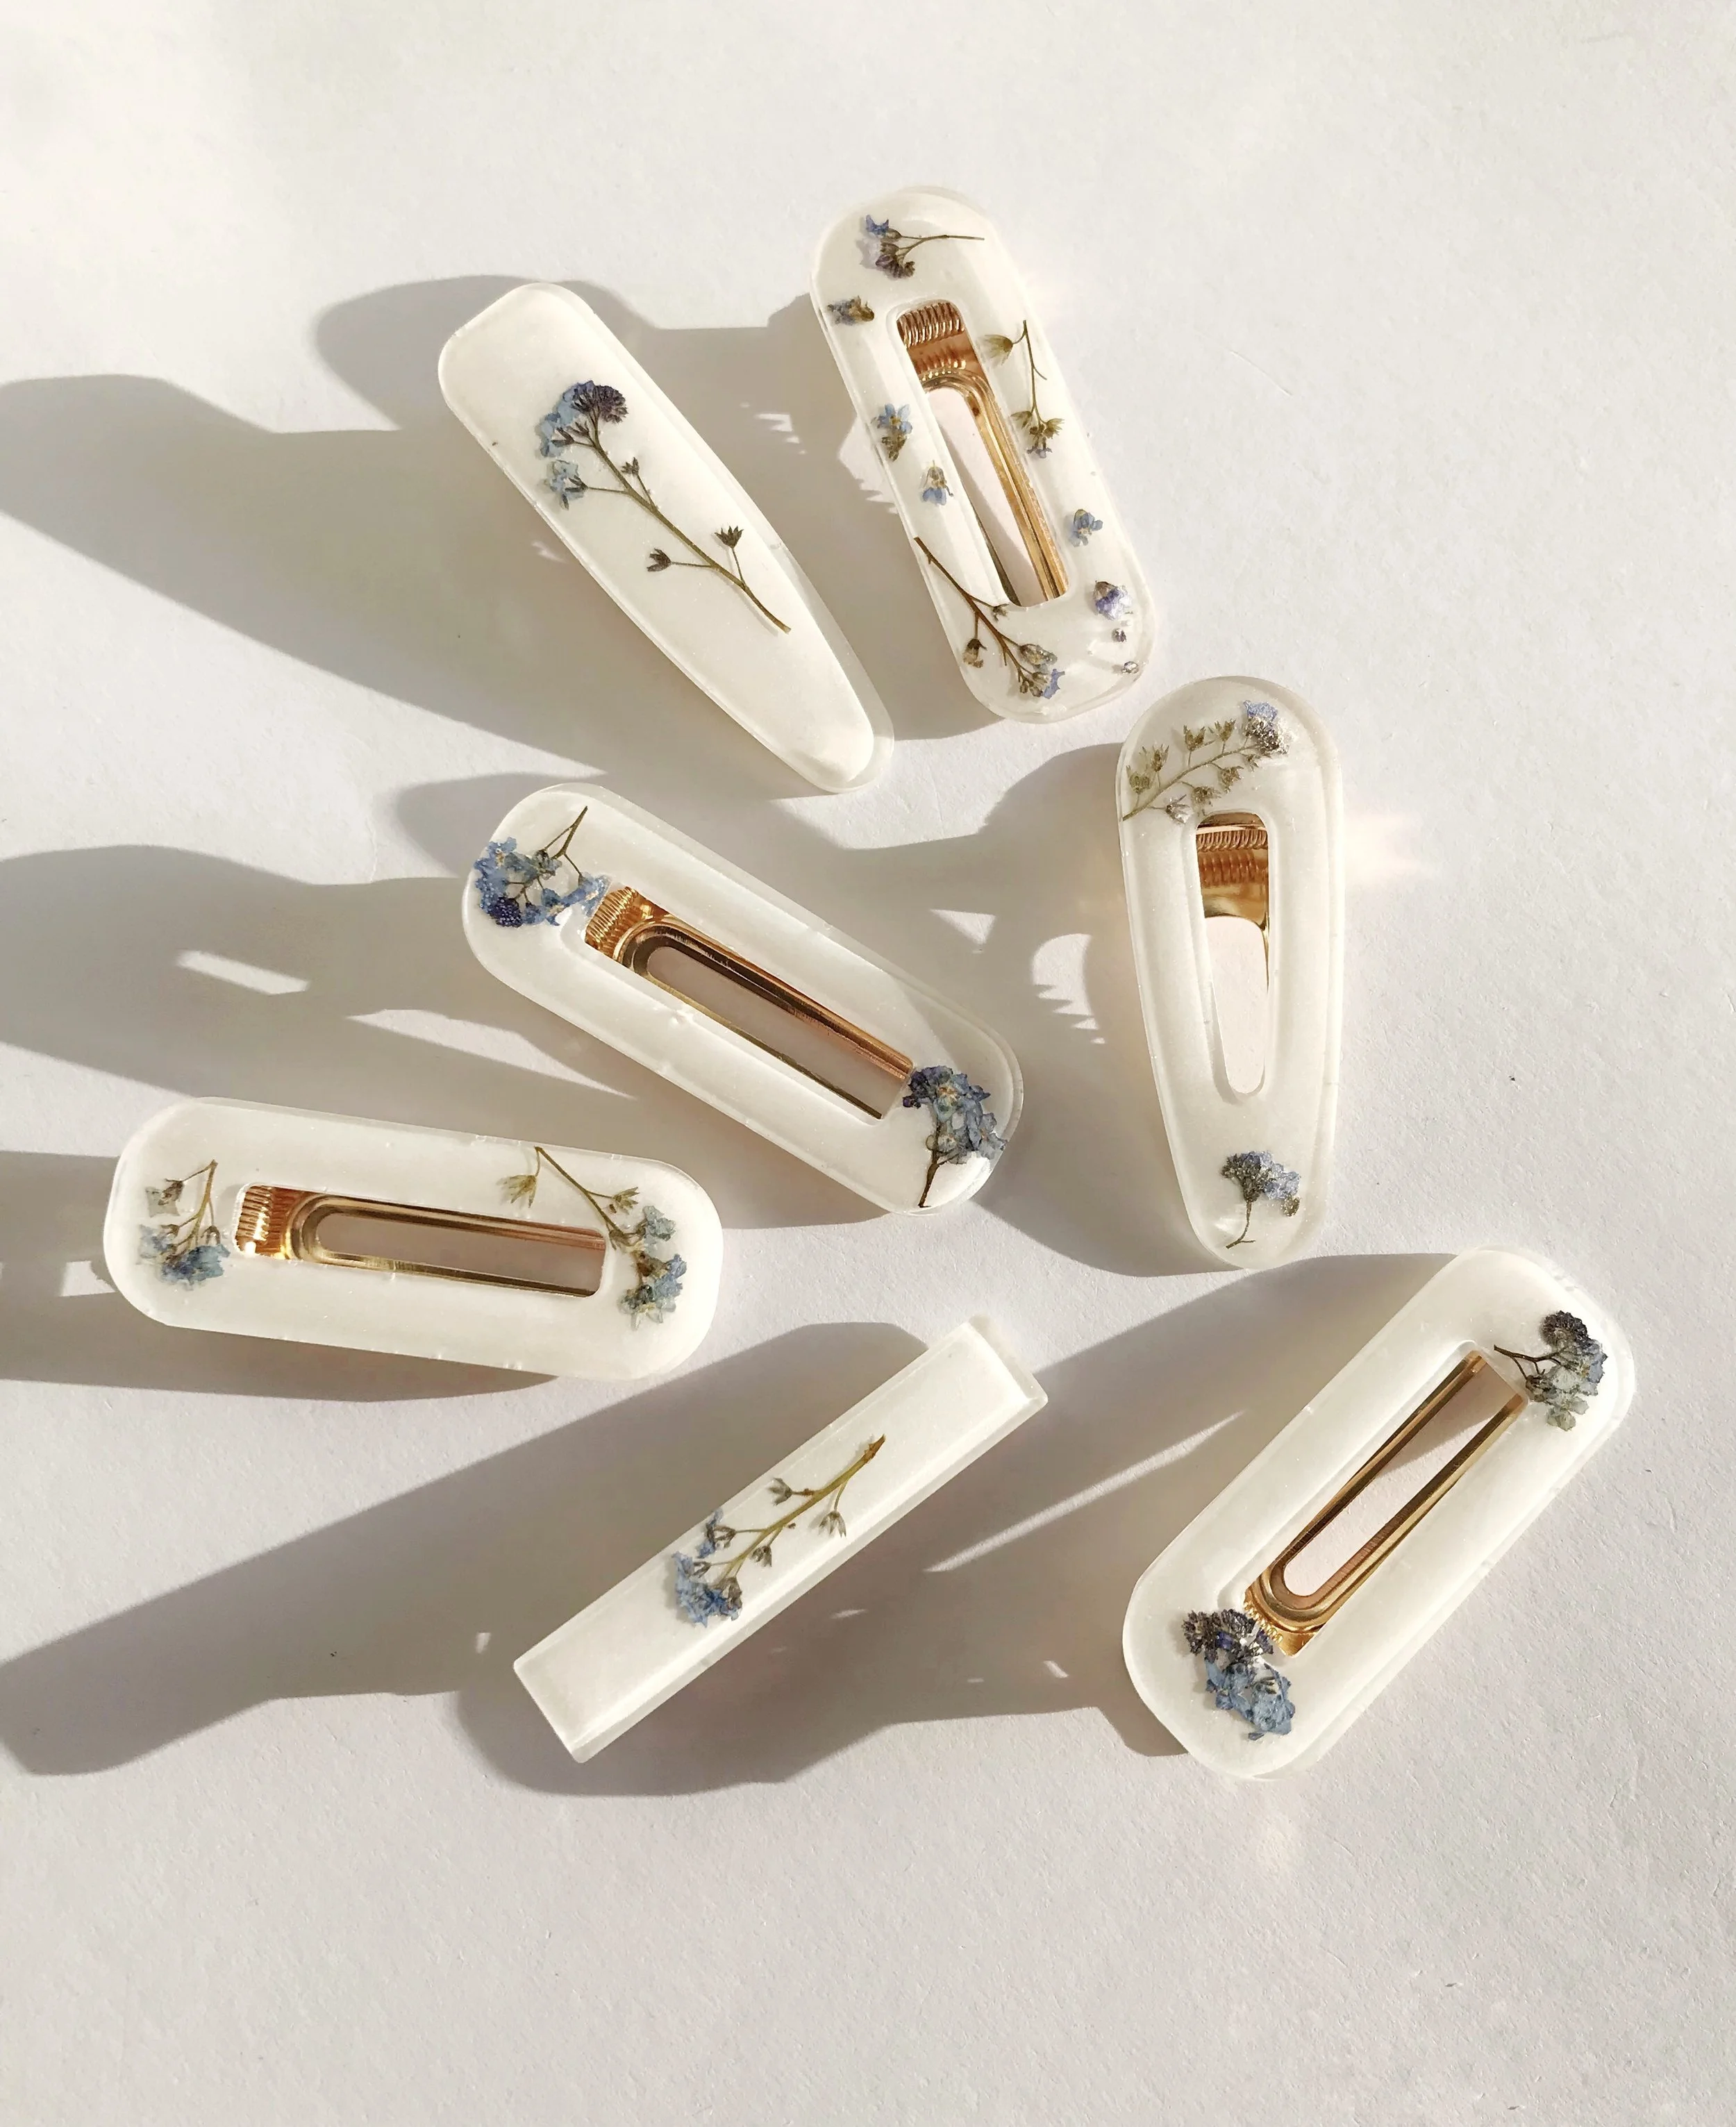
Forget-Me-Not Hair Clips
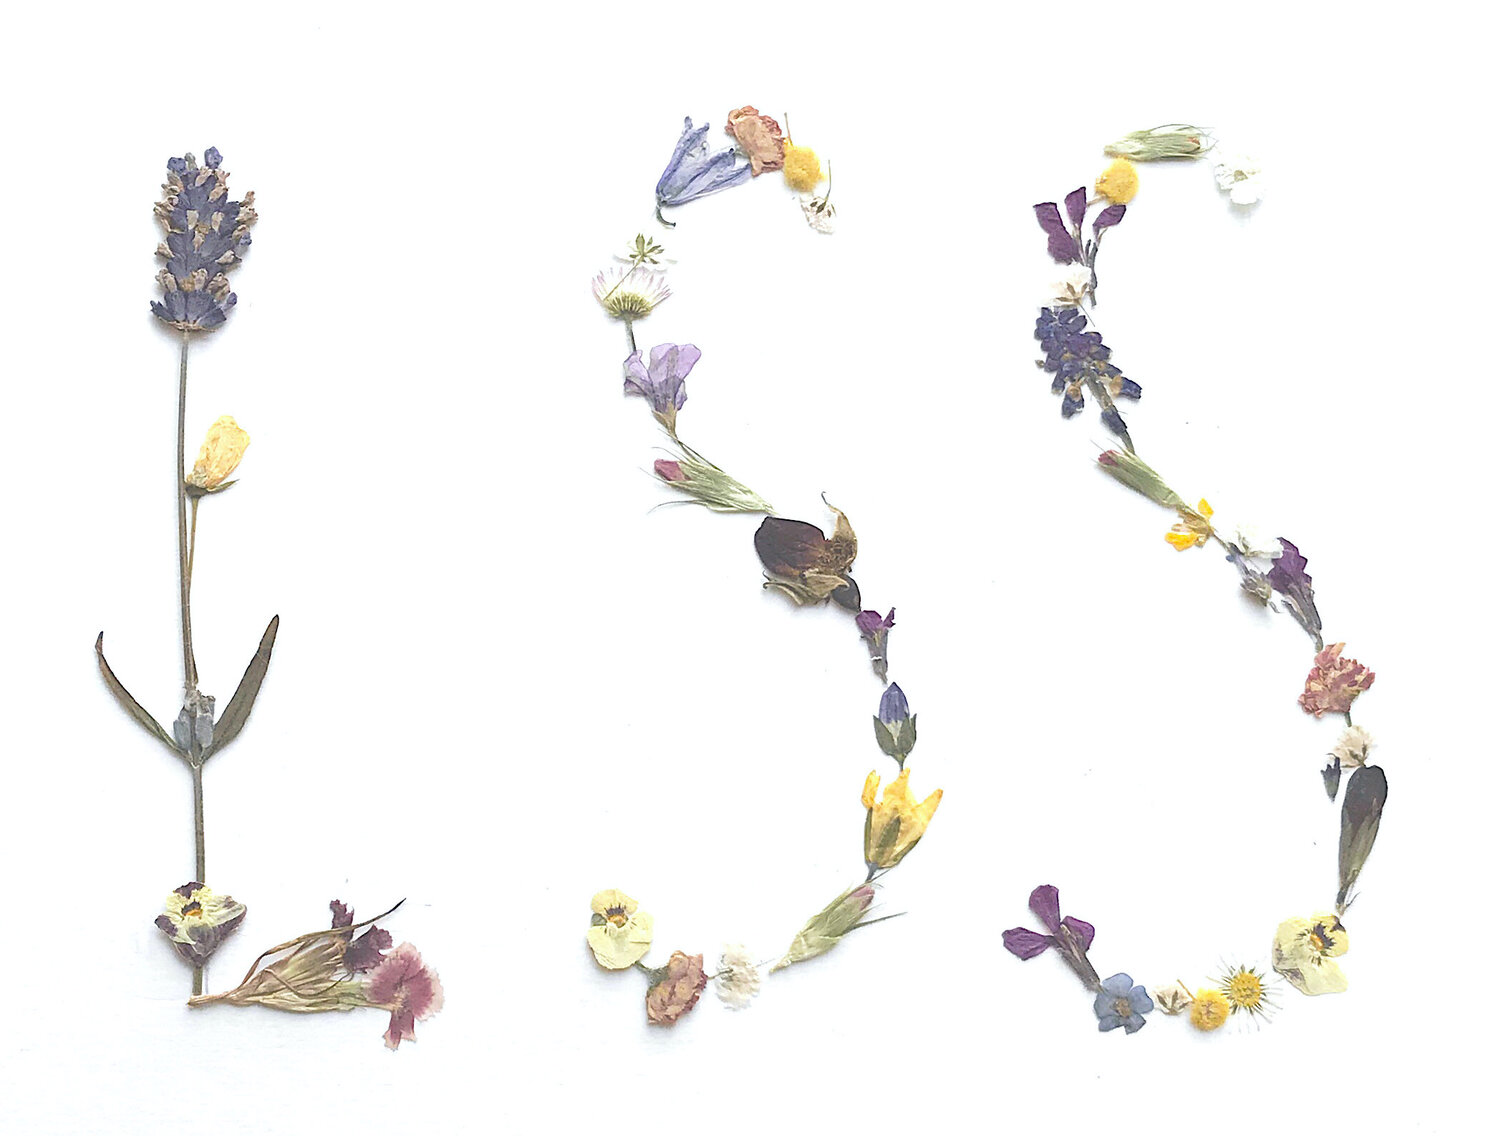
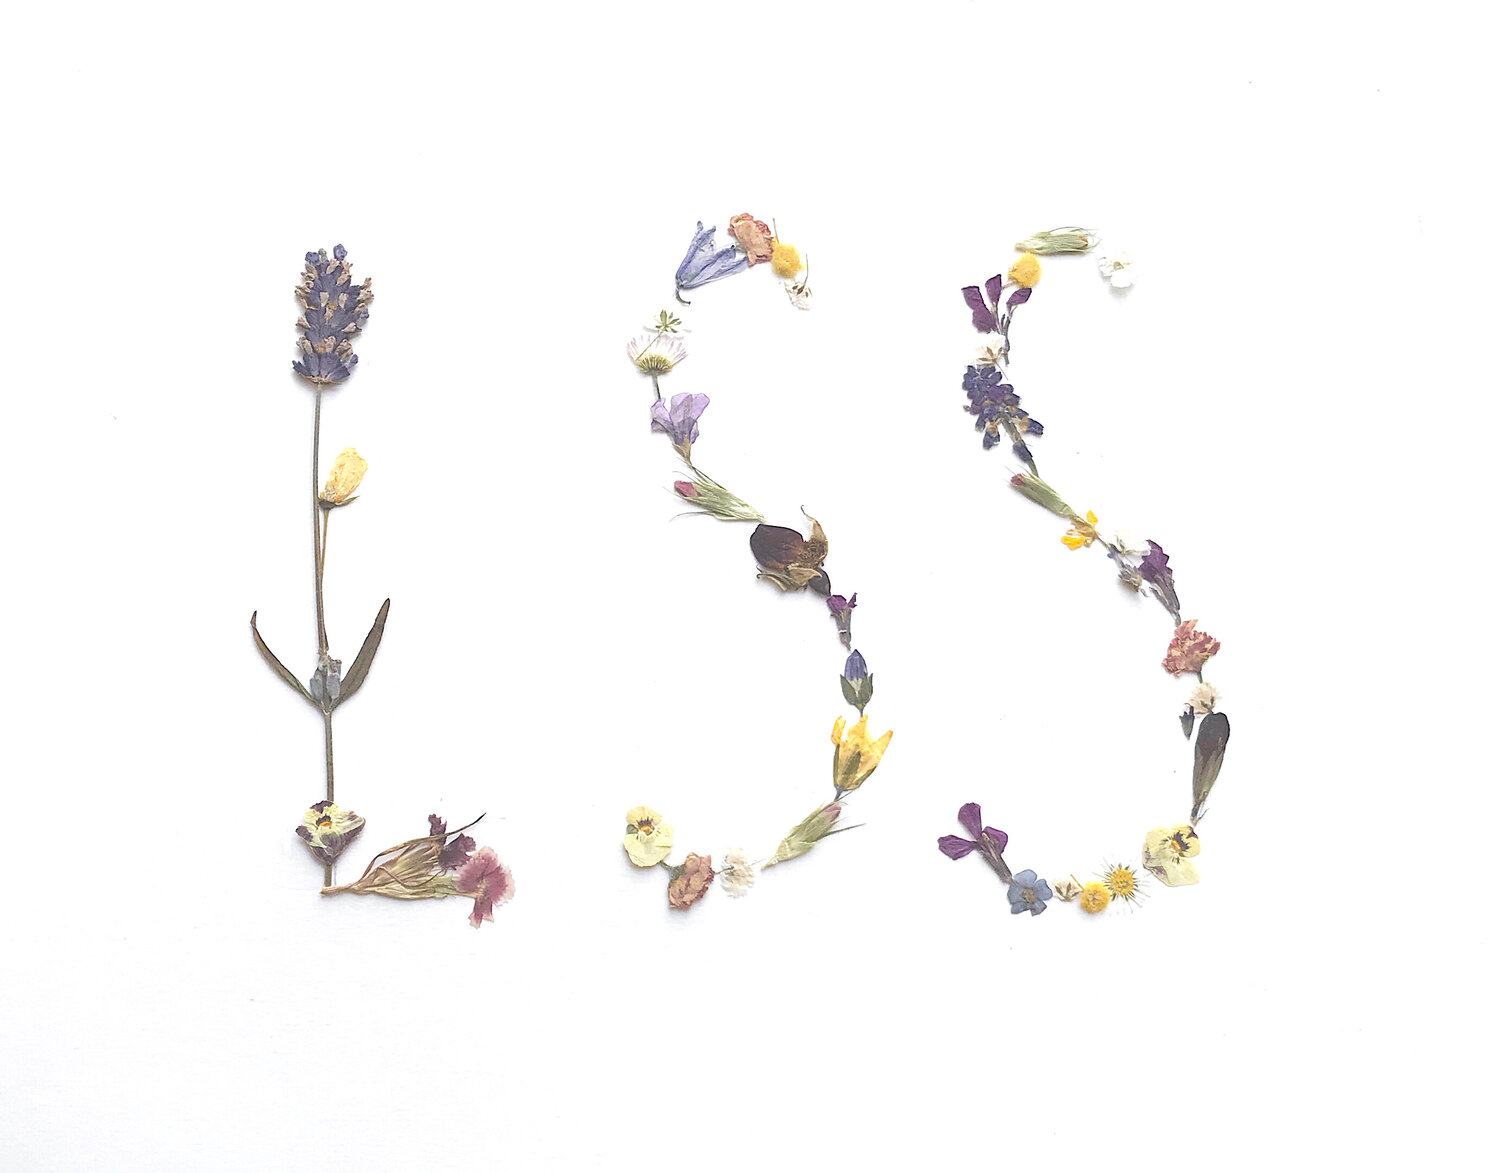
We are now well into Forget-Me-Not season here in the UK and I would love to share some tips with you on how to press them. I have used Forget-Me-nots in my handcrafted designs for a while now and they always sell super well.
In this blog post I am going to show you how I press Forget-Me-Nots to create pieces I sell in my shop like the clips in the photo.
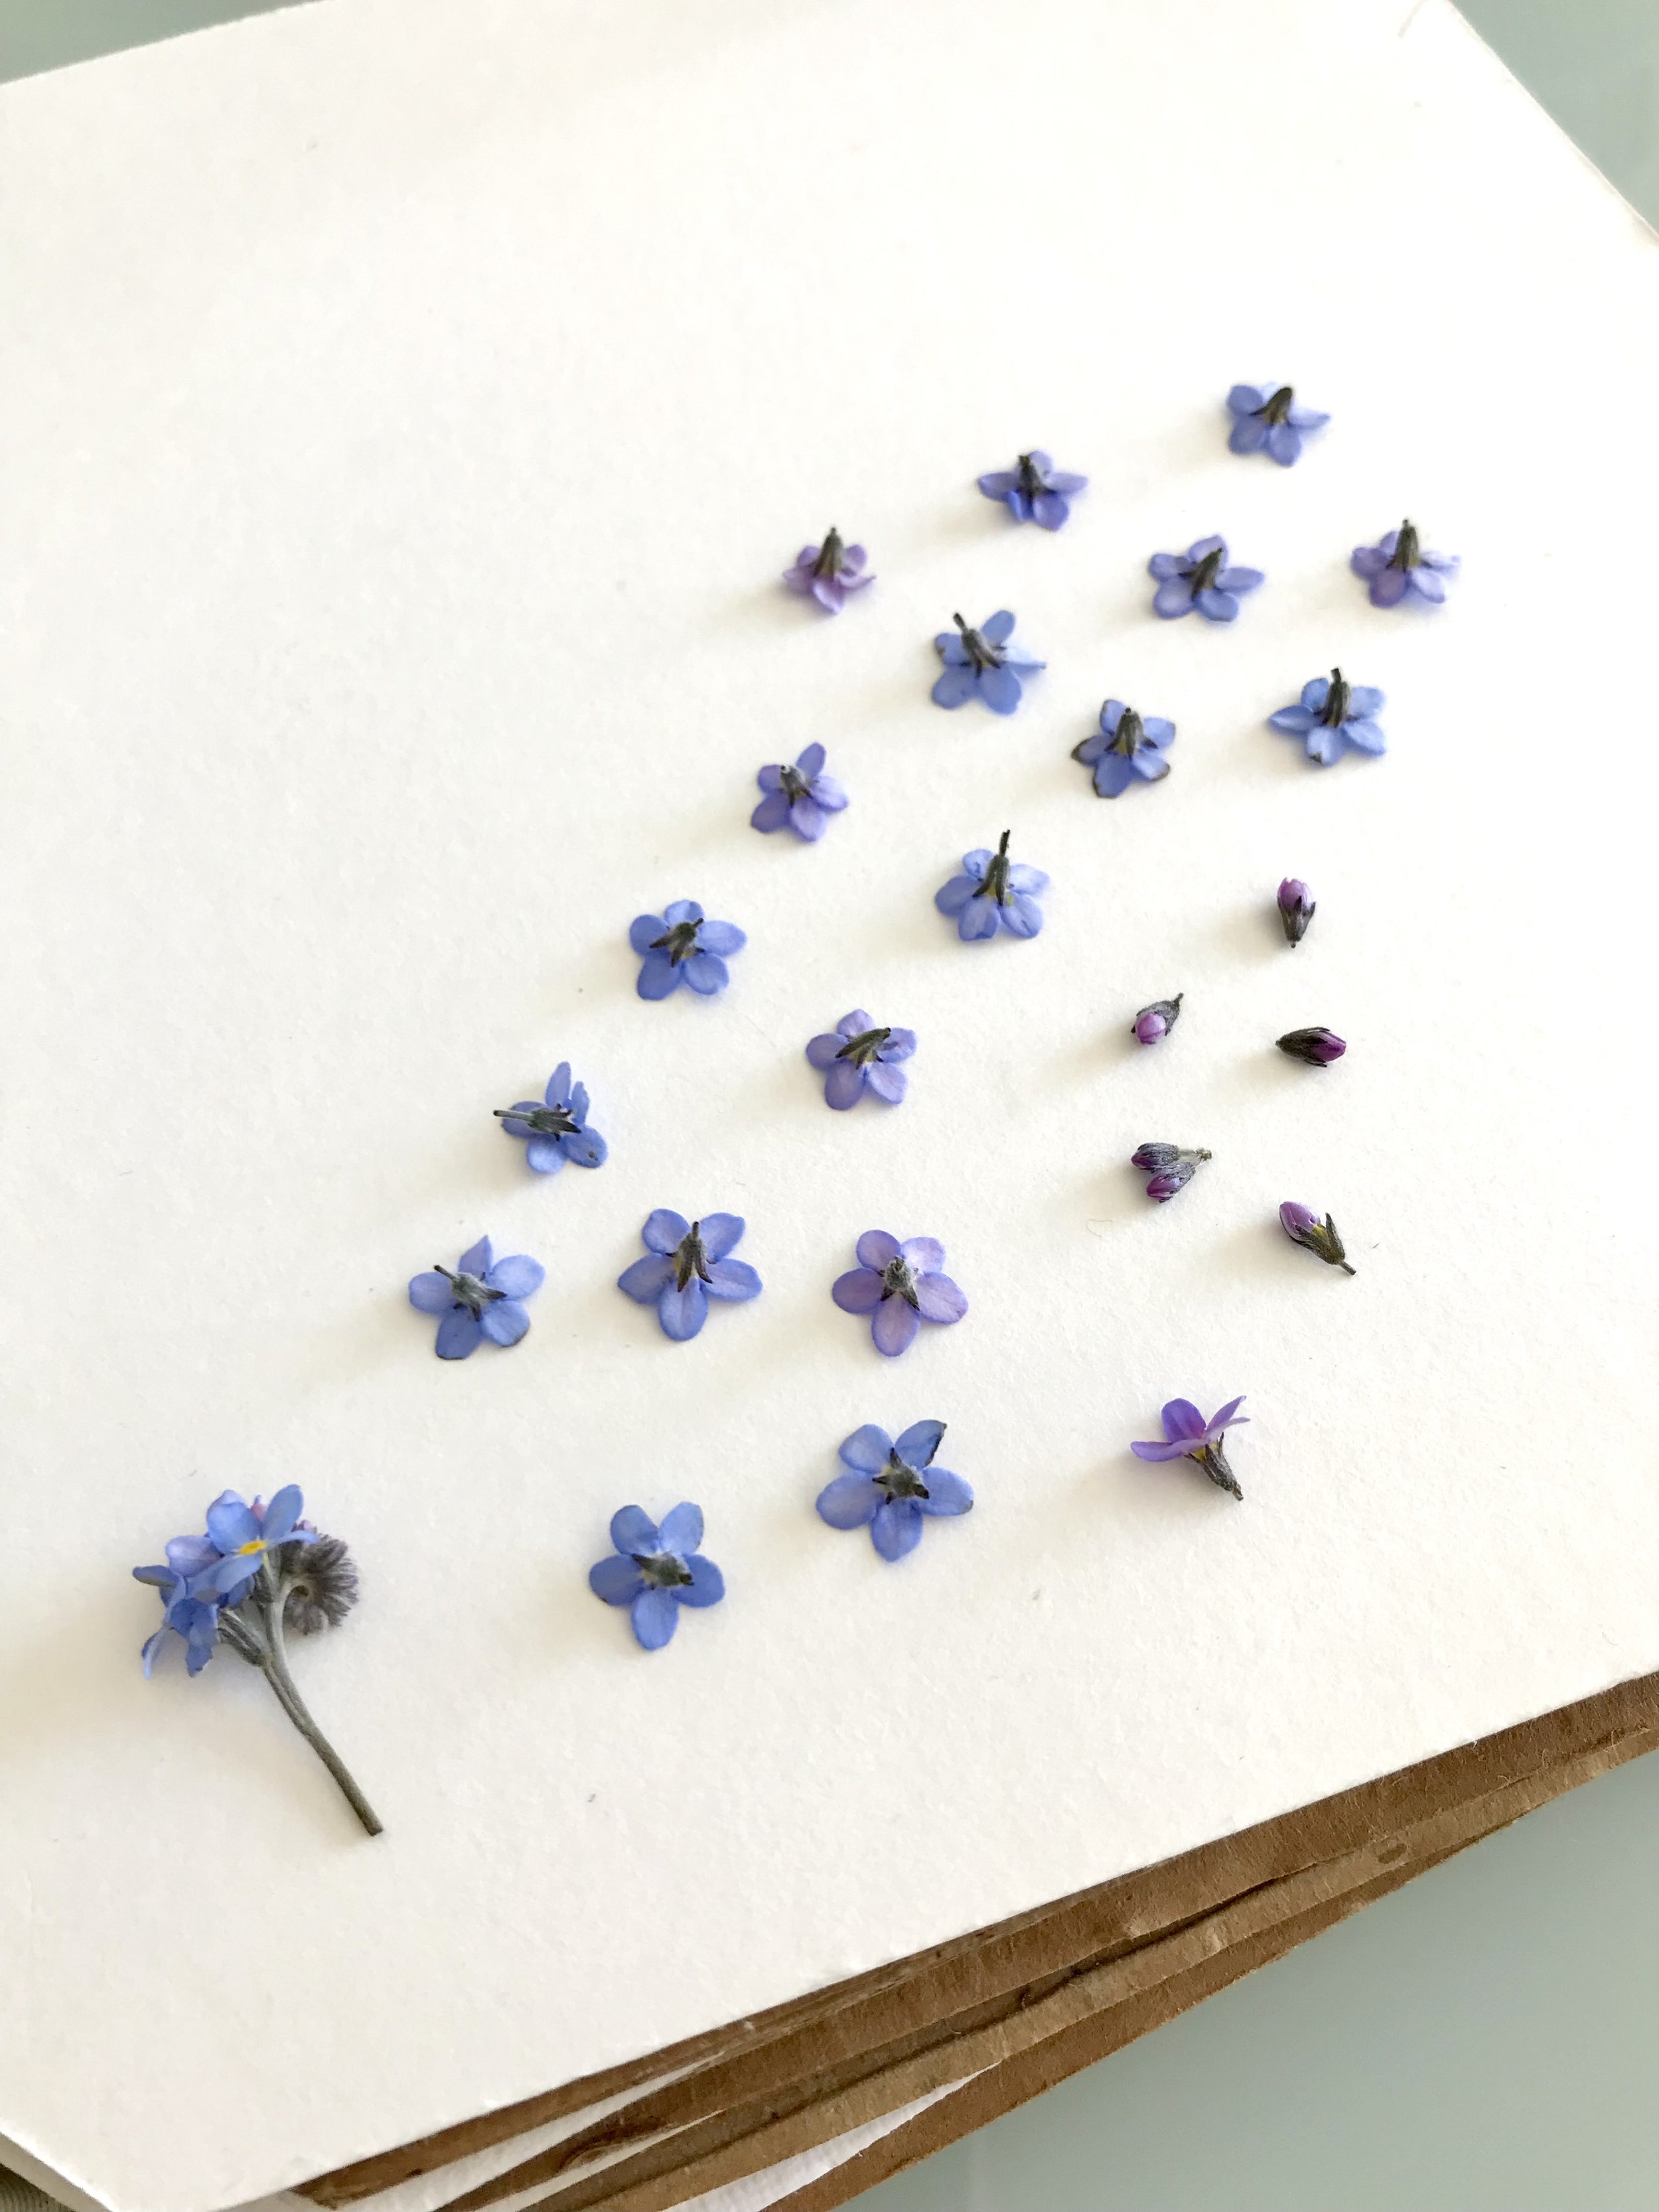
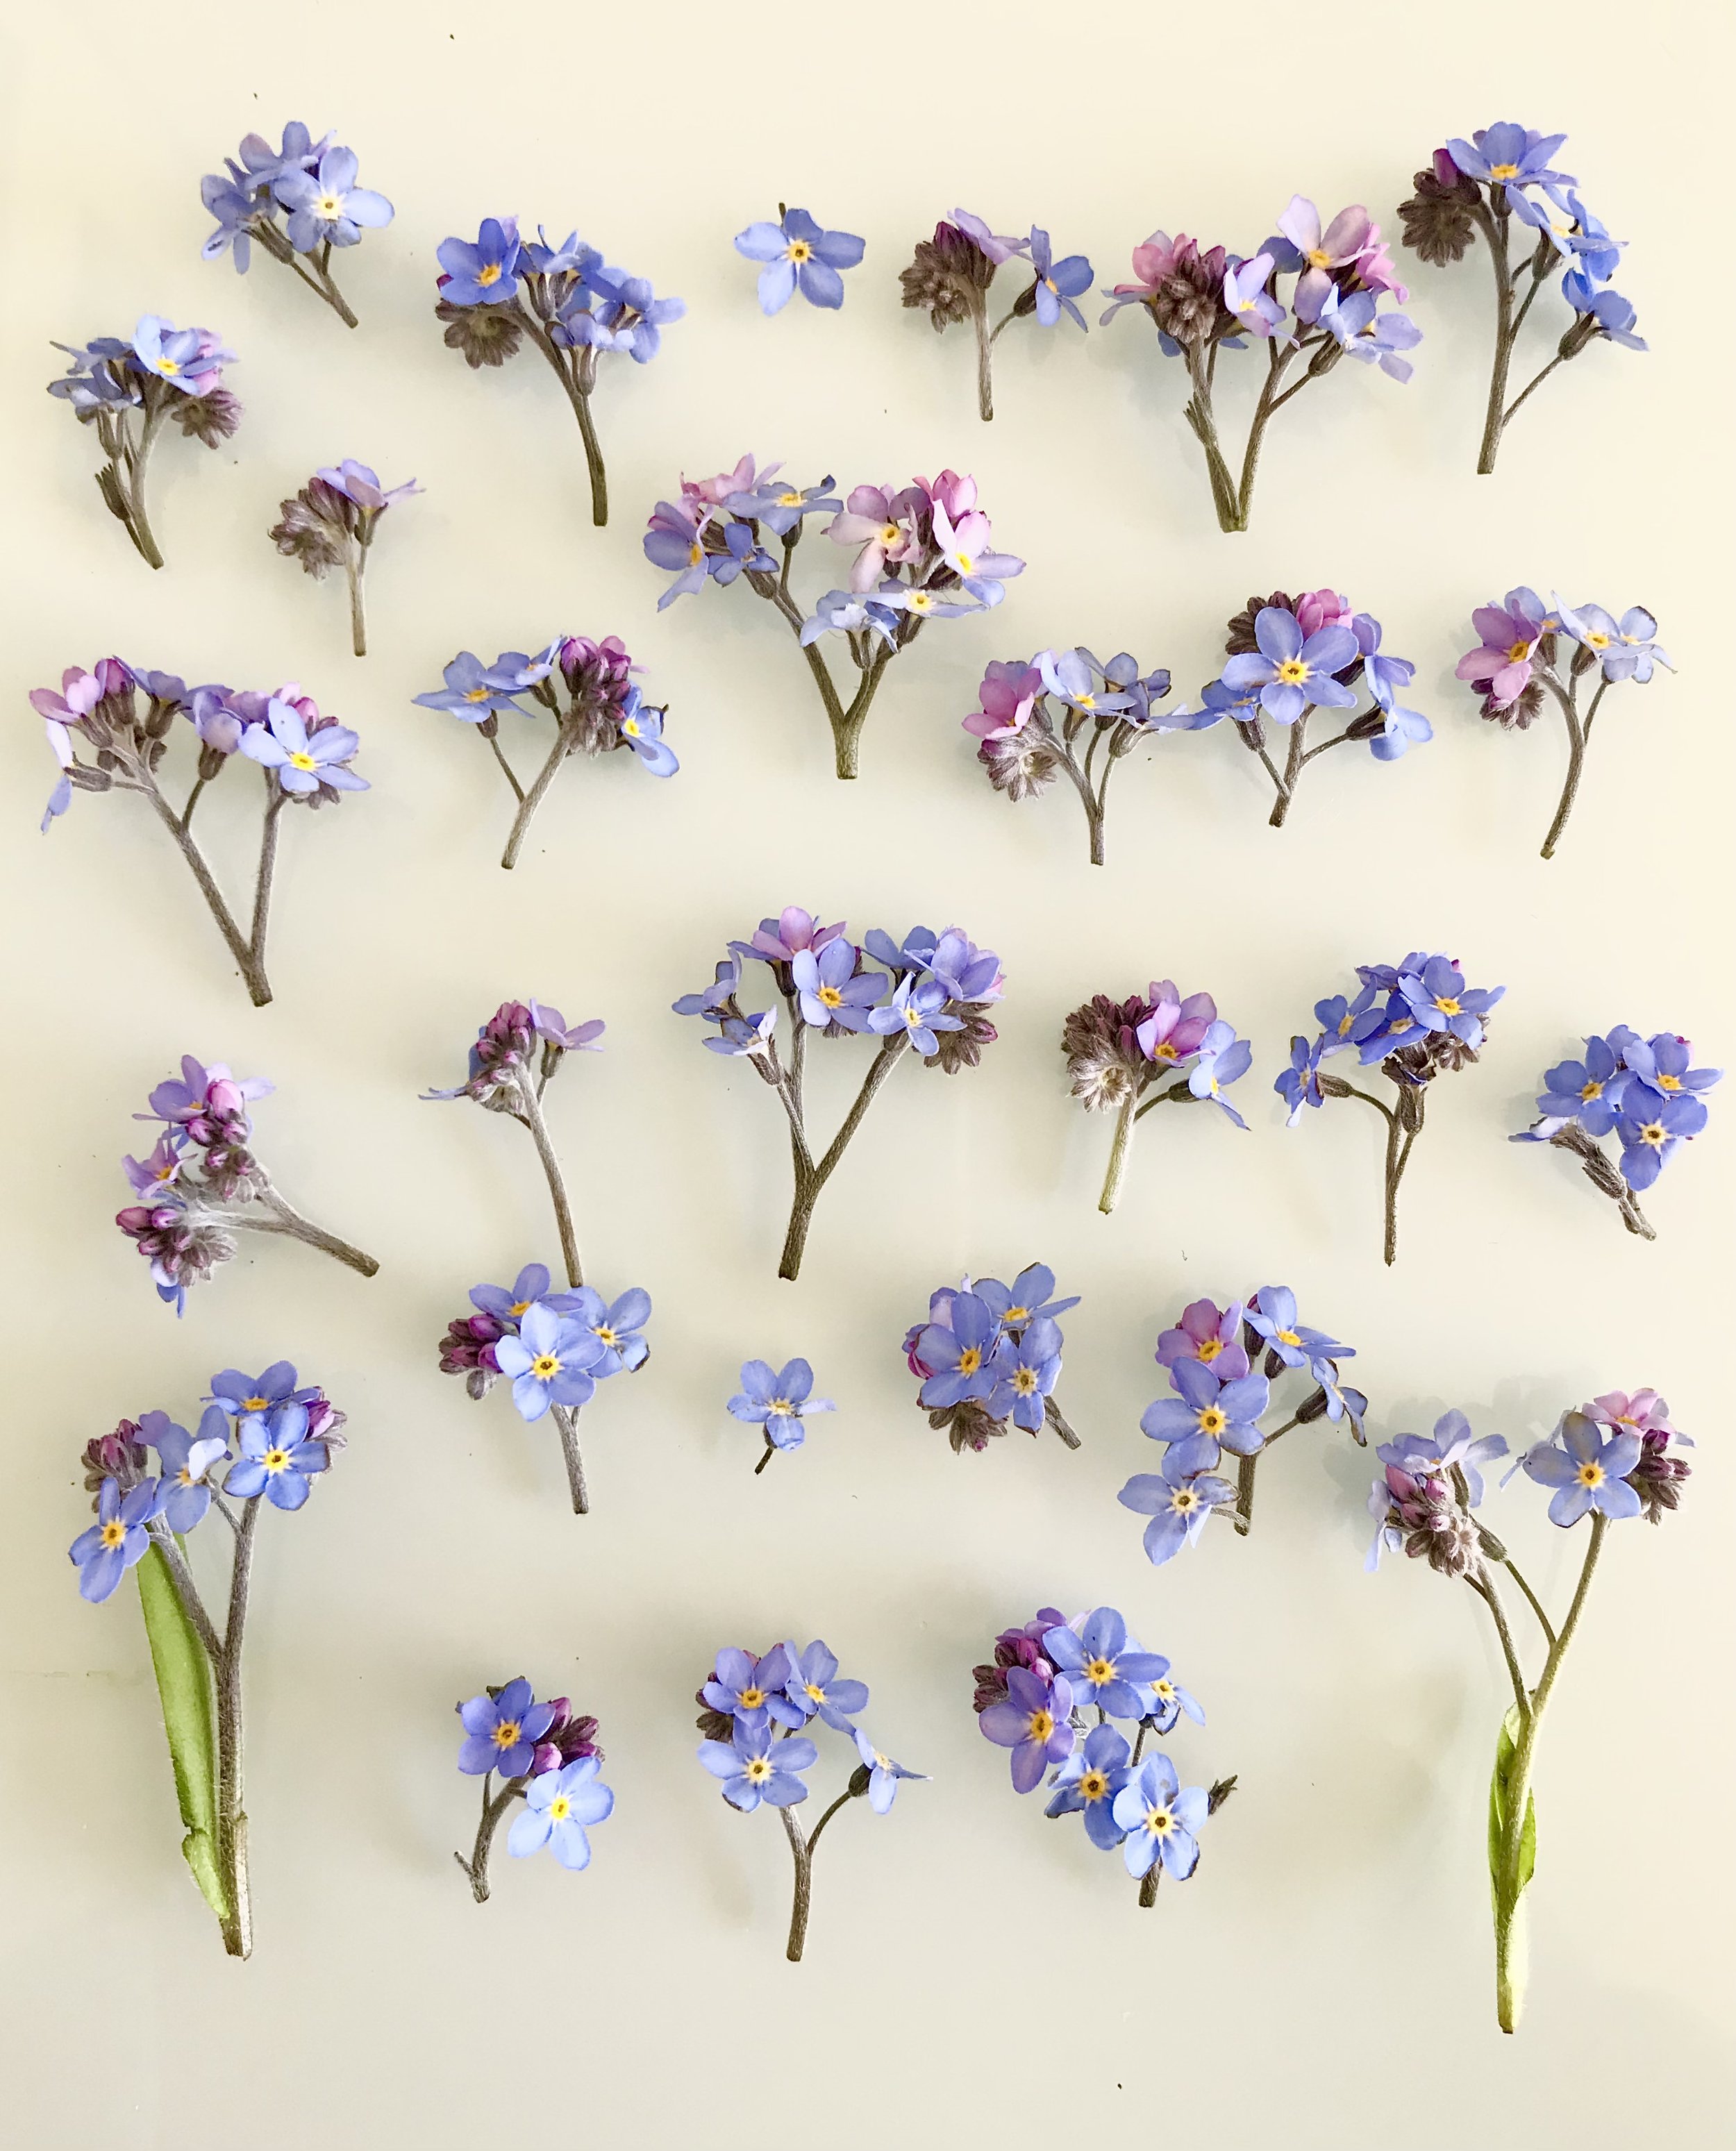
So first of all I lay out all of my flowers on a flat surface and organise which flowers I want to use and put away to the side any excess greenery I do not want to press. Tweezers are your friends when it comes to Forget-Me-Nots! They are such delicate flowers you need to be gentle with, I find the process so calming.
Now if you don’t have a flower press do not despair. Over the years I have gained quite the collection of flower presses from friends as gifts or my own finds but I did start of at the beginning without one. A big heavy book, an old encyclopaedia is perfect. Although again do not despair if you don’t just happen to have an old encyclopaedia hanging around in these days of the interwebs, any book will do you will just have to put more books on top of it.
I start off with a sheet of paper, not shiny and not indented but the thicker the better, card is perfect. Now start separating and placing your flowers face down as seen in the photos above making sure to leave space between each flower. The aim of pressing flowers is to remove the moisture so you can use them in your projects and they won’t change to a browny colour.

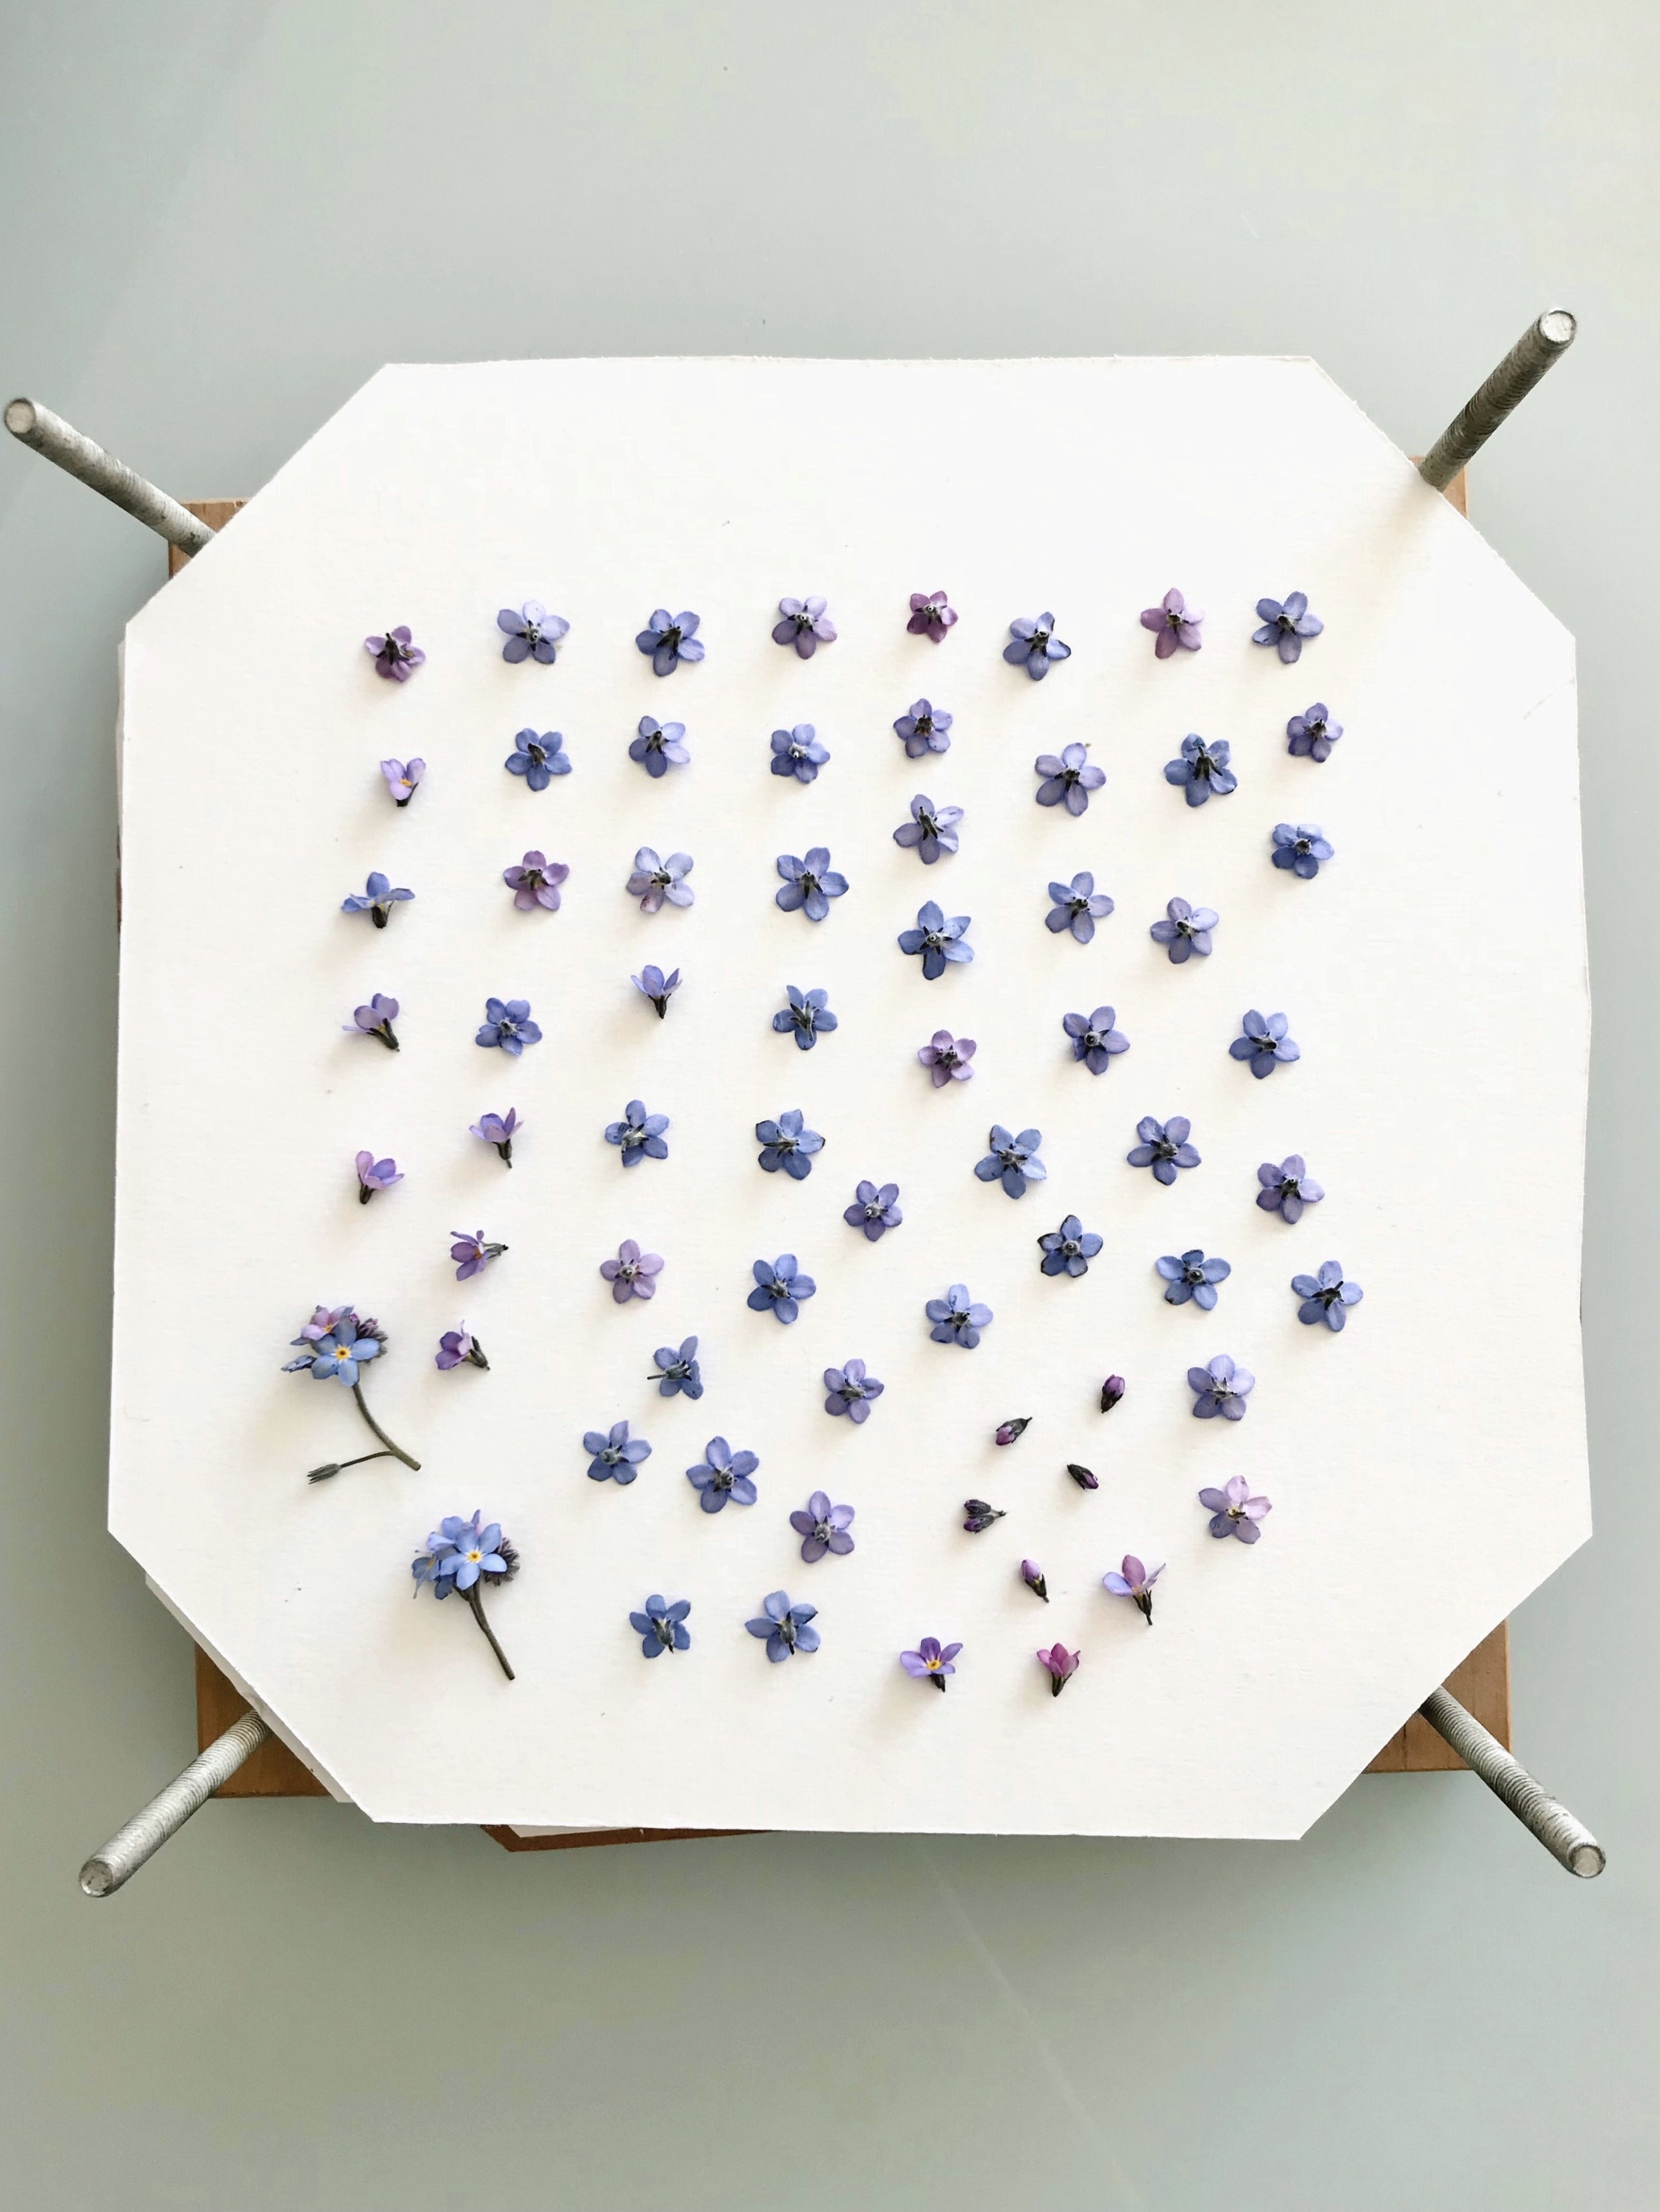
Once you have laid out your flowers you can place another sheet of paper or card the same size on top. Insert these two pieces of paper which hold the Forget-Me-Nots between them gently into a book or into your flower press. If you are using a book keep it flat and place more books or a heavy object on top.
You can now leave the forget-me-nots to do their thing and wait two to three weeks for them to dry. I have heard people suggesting shorter amounts of times for flowers to be pressed but I like to be safe rather than sorry and leave it a little longer.
Happy Pressing! I find it so exciting to return to my press to see how the flowers turn out and I hope you do too.
If you enjoyed this blog post and would like to see more flower pressing tips from me in the future, be sure to sign up to my newsletter which you can do so below.
Till next time,
Lucy x